# Ubuntu install Laravel
I am using digitalocean VPS service, since GitHub Student Developer Pack (opens new window) have $50 in platform credit for new users.
OS: Ubuntu 18.04.3 (LTS) x64

How to Install and Configure Laravel with LEMP on Ubuntu 18.04 (opens new window)
Step:
- Initial Server Setup with Ubuntu 18.04 guide
- Install Linux, Nginx, MySQL, PHP (LEMP stack)
- Install Composer
- Install Git and setup Github ssh login
- Clone github project, deploy
# 1. Initial Server Setup with Ubuntu 18.04
https://www.digitalocean.com/community/tutorials/initial-server-setup-with-ubuntu-18-04
Get Ip

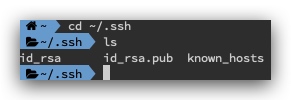
# ~/.ssh is used by default
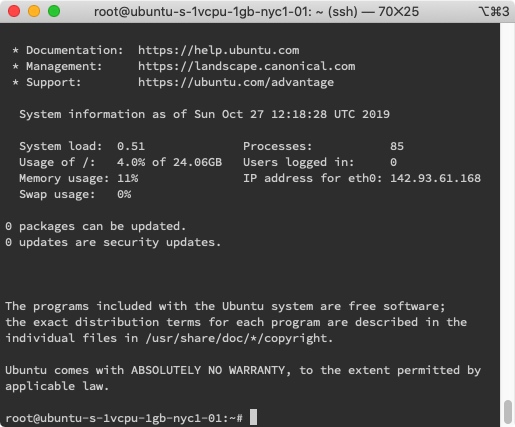
ssh [email protected]
# ufw setup
ufw (opens new window) is an easy Firewall Management tool.
ufw app list

# Allow OpenSSH to make sure we can use ssh service after enabled ufw
ufw allow OpenSSH
ufw enable
ufw status

# Install VNC
How to Install and Configure VNC on Ubuntu 18.04 (opens new window)
sudo apt update
sudo apt install xfce4 xfce4-goodies
sudo apt install tightvncserver

#For copy & paste https://unix.stackexchange.com/a/274692
sudo apt-get install autocutsel

# setup password between 6 to 8
vncserver

# Close vncserver before setup configuring VNC Server
vncserver -kill :1
# backup original xstartup file
mv ~/.vnc/xstartup ~/.vnc/xstartup.bak

nano ~/.vnc/xstartup
copy in xstartup
#!/bin/bash
xrdb $HOME/.Xresources
autocutsel -fork
startxfce4 &
# make it executable
sudo chmod +x ~/.vnc/xstartup
# restart
vncserver

# Create an SSH connection forwards to the localhost connection for VNC.
ssh -L 5901:127.0.0.1:5901 [email protected]

# Or open 5901 port to use remote url access
sudo ufw allow 5901
# Contect VNC
Use any VNC Client tool, i am using Jump Desktop (opens new window) 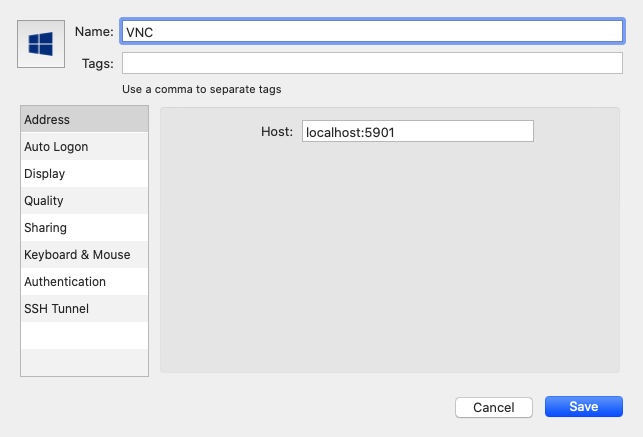
Click Use default config 
How to fix "Failed to Execute Default Web Browser. Input/Output Error." (opens new window)

sudo apt-get install firefox
# 2. Install Nginx, MySQL, PHP (LEMP stack)
# Nginx
https://www.digitalocean.com/community/tutorials/how-to-install-linux-nginx-mysql-php-lemp-stack-ubuntu-18-04
sudo apt update
sudo apt install nginx

#Open port 80,443
sudo ufw allow 'Nginx HTTP'
sudo ufw allow 'Nginx HTTPS'
now, go to localhost in Browser will display welcome page

# MySQL
sudo apt install mysql-server

# inside mysql environment
sudo mysql

# Check authentication method of each MySQL user accounts
SELECT user,authentication_string,plugin,host FROM mysql.user;

+------------------+-------------------------------------------+-----------------------+-----------+
| user             | authentication_string                     | plugin                | host      |
+------------------+-------------------------------------------+-----------------------+-----------+
| root             |                                           | auth_socket           | localhost |
| mysql.session    | *THISISNOTAVALIDPASSWORDTHATCANBEUSEDHERE | mysql_native_password | localhost |
| mysql.sys        | *THISISNOTAVALIDPASSWORDTHATCANBEUSEDHERE | mysql_native_password | localhost |
| debian-sys-maint | *CC744277A401A7D25BE1CA89AFF17BF607F876FF | mysql_native_password | localhost |
+------------------+-------------------------------------------+-----------------------+-----------+
change auth_socket to mysql_native_password
# change authentication method and set password
ALTER USER 'root'@'localhost' IDENTIFIED WITH mysql_native_password BY 'password';

# reload the grant tables
FLUSH PRIVILEGES;

#login mysql
mysql -u root -p
# create database - booking
CREATE DATABASE booking;

# create user - booking_user which have all permission of database - booking
GRANT ALL ON booking.* TO 'booking_user'@'%' IDENTIFIED BY 'password' WITH GRANT OPTION;
# Allow Remote Access to MySQL
https://www.digitalocean.com/community/tutorials/how-to-allow-remote-access-to-mysql
# change bind-address from 127.0.0.1 to 0.0.0.0
sudo nano /etc/mysql/mysql.conf.d/mysqld.cnf

sudo systemctl restart mysql
ufw allow mysql
# Try in mysql client

# PHP
# add universe repository to install php
sudo add-apt-repository universe

sudo apt install php-fpm php-mysql
sudo apt install php-mbstring php-xml php-bcmath
# Nginx Architecture
sites-available - linkup -> sites-enabled
# setup server block configuration(example.com) in sites-available
sudo nano /etc/nginx/sites-available/example.com
server {
        listen 80;
        root /var/www/html;
        index index.php index.html index.htm index.nginx-debian.html;
        server_name example.com;

        location / {
                try_files $uri $uri/ =404;
        }

        location ~ \.php$ {
                include snippets/fastcgi-php.conf;
                fastcgi_pass unix:/var/run/php/php7.2-fpm.sock;
        }

        location ~ /\.ht {
                deny all;
        }
}
# linkup sites-available/example.com to sites-enabled/
sudo ln -s /etc/nginx/sites-available/example.com /etc/nginx/sites-enabled/

# unlink the default configuration file
sudo unlink /etc/nginx/sites-enabled/default

# check have not errors
sudo nginx -t

sudo systemctl reload nginx

# create index.php
sudo nano /var/www/html/index.php
<?php
phpinfo();
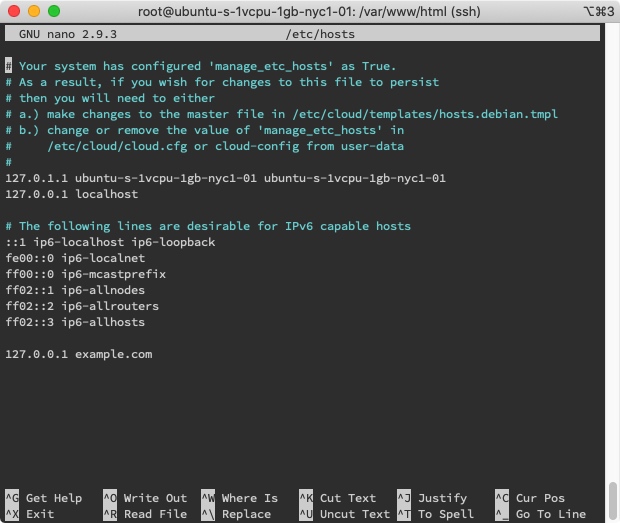
now, we need add one record in /etc/hosts
127.0.0.1 example.com
http://example.com/info.php

Or, use Server IP: http://142.93.48.91 
# 3.Install Composer
sudo apt update
sudo apt install curl php-cli php-mbstring git unzip

cd ~
curl -sS https://getcomposer.org/installer -o composer-setup.php
copy Installer Signature (SHA-384) in https://composer.github.io/pubkeys.html

# paster here
HASH=a5c698ffe4b8e849a443b120cd5ba38043260d5c4023dbf93e1558871f1f07f58274fc6f4c93bcfd858c6bd0775cd8d1

# verify installation script, if correct output will display "Installer verified"

php -r "if (hash_file('SHA384', 'composer-setup.php') === '$HASH') { echo 'Installer verified'; } else { echo 'Installer corrupt'; unlink('composer-setup.php'); } echo PHP_EOL;"

# install composer in /usr/local/bin
sudo php composer-setup.php --install-dir=/usr/local/bin --filename=composer
composer

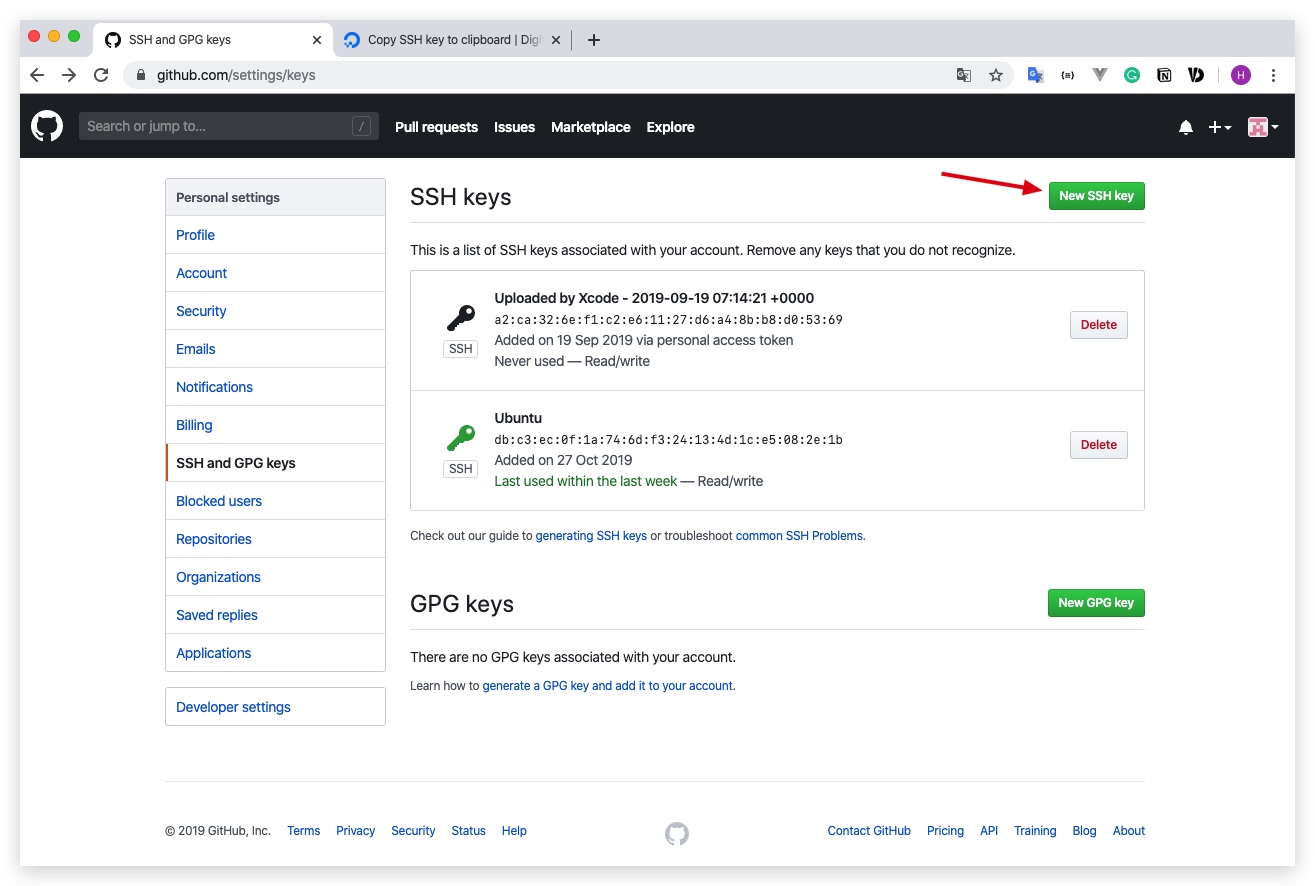
# 4. Install Git and setup Github ssh login
sudo apt-get install git

git config --global user.name "Your name"
git config --global user.email email
# use ssh ( Optional )
sudo apt-get install ssh
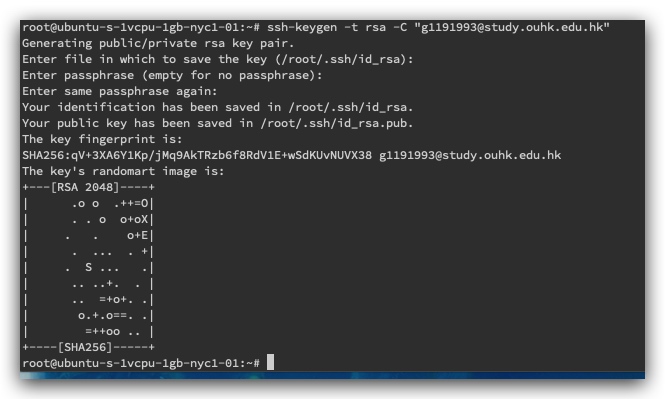
ssh-keygen -t rsa -C "github email"
#copy output
cat ~/.ssh/id_rsa.pub
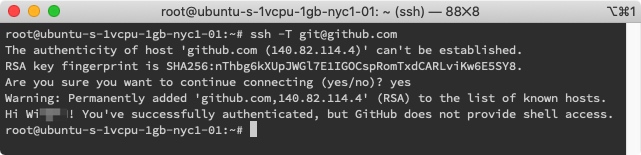
# test
ssh -T [email protected]
# 5. Clone github project, deploy
cd /var/www/
# Clone own project
# Option 1. use ssh (setup in above step)
sudo git clone [email protected]:WingCH/Booking_Web.git

# Option 1. use https

# setup this config in order to input password once only
# https://blog.csdn.net/Aifore/article/details/82870825
git config --global credential.helper store
# input password after this command
#(if using two factor authentication need to use personal access token https://help.github.com/en/github/authenticating-to-github/creating-a-personal-access-token-for-the-command-line )
sudo git clone https://github.com/WingCH/Booking_Web.git
cd Booking_Web

# give the web server user write access to the storage and cache
sudo chown -R www-data.www-data storage
sudo chown -R www-data.www-data bootstrap/cache
# copy and rename .env.example to .env
mv .env.example .env
# install Laravel lib
composer install
# generate APP_KEY into .env
php artisan key:generate

# Create and edit nginx config file
sudo nano /etc/nginx/sites-available/booking
Copy https://laravel.com/docs/5.8/deployment#server-configuration
# modify `server_name` and `root`
server_name server_domain_or_IP;
root /var/www/Booking_Web/public;
sudo ln -s /etc/nginx/sites-available/booking /etc/nginx/sites-enabled/
sudo nginx -t
sudo systemctl reload nginx
now, we need add one record in /etc/hosts
127.0.0.1 your_server_name
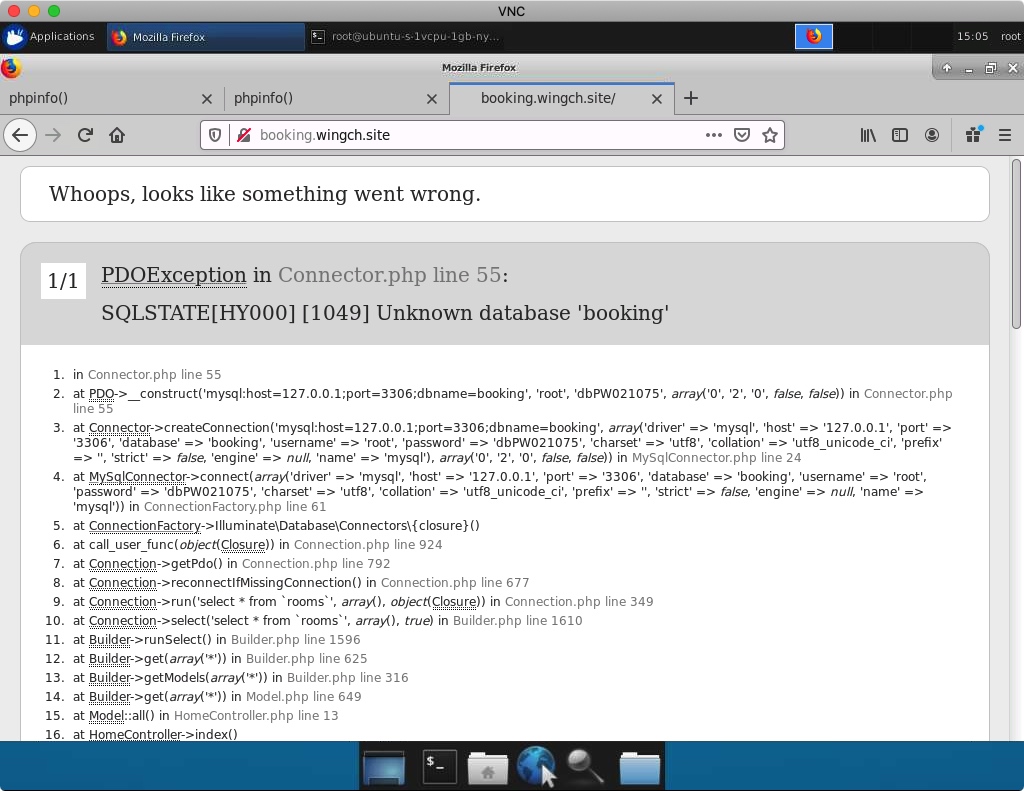
Successful access website, it is because no database record.
ufw allow mysql
ufw status

# SSL
https://www.digitalocean.com/community/tutorials/how-to-create-a-self-signed-ssl-certificate-for-nginx-in-ubuntu-18-04